
Last year after Halloween I bought these pumpkins for 75% off

So after remembering I had them, I decided to paint them to something a little more stylish than orange…In other words I had green and off white spray paint leftover from other projects…ha
The first thing I did was to tape off the stems, then after finding a good spot in the yard I sprayed away doing the tops first then turning them over to do the bottoms once the tops were dry. It really only took about 20 minutes to do the whole process since it was nice any sunny in my spot in the yard.

After both side were dry now comes the fun part! To add a little character I dry brushed a creamy color on the green pumpkins and antiqued both colors with some walnut stain.

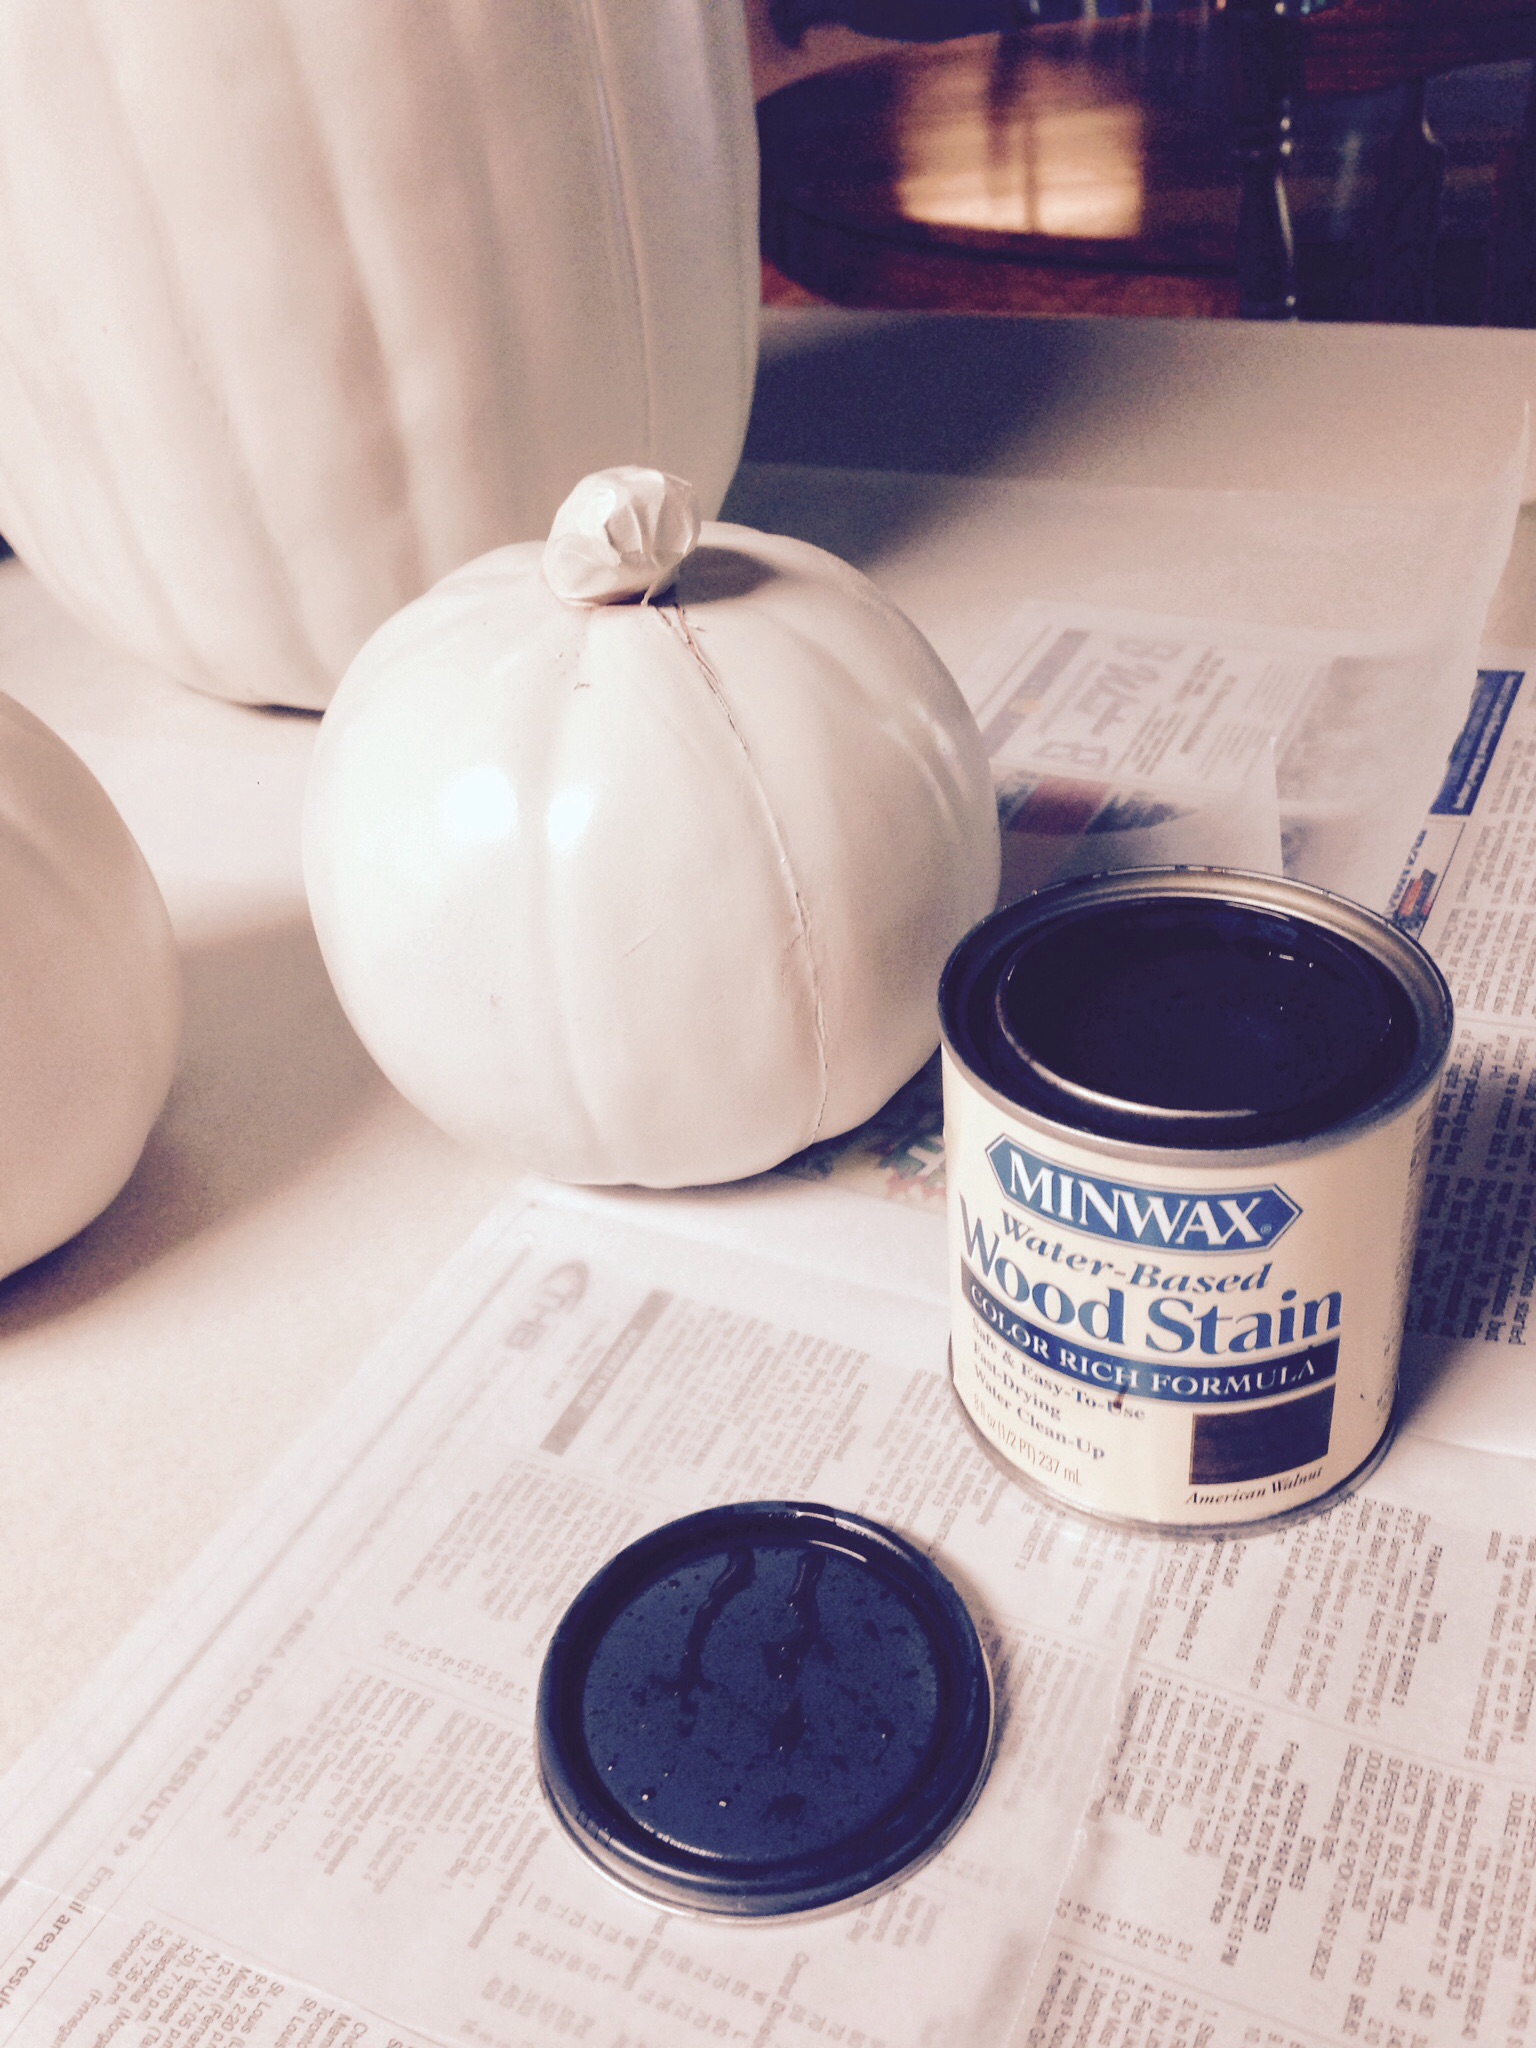
To accentuate the natural ribs I painted the stain into the ribs a couple at a time then with a dry cloth dabbed it off and onto the area between the ribs leaving it a little darker in the ribs.
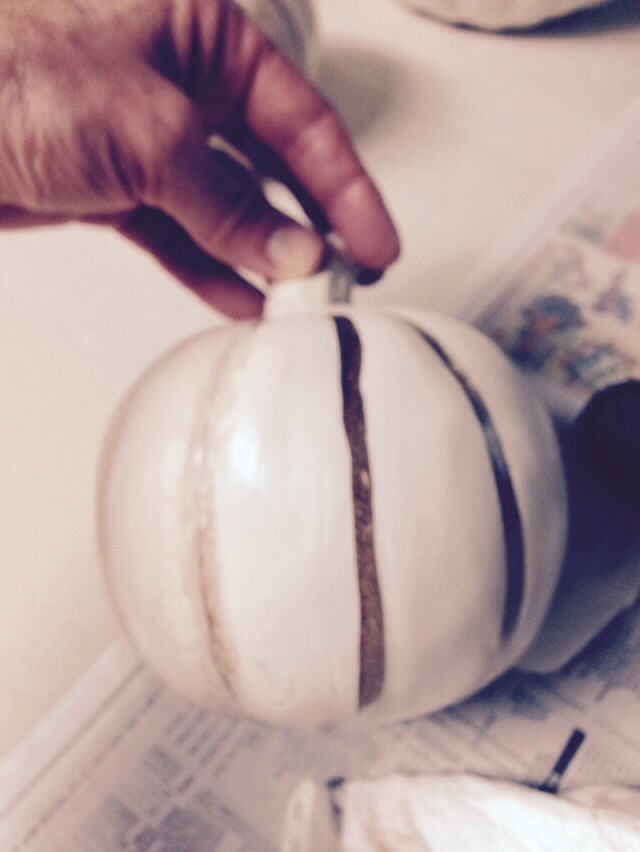
Keep painting and dabbing until you like the look. I then added more stain to the stems to give them a more natural brown look rather than the ugly gold color they were.

I think they turned out pretty well they really look like they are made out of porcelain rather than cheap foam!

So keep your eye out for those clearance sales this year after Halloween so you can make your own before thanksgiving then you’ll have a nice start on your thanksgiving table centerpiece this year and for years to come!
