
So I’m probably the last person on the planet to make one of these wreaths…ha! But we were talking about them at work the other day and my co-worker Carol explained how she made hers, so I decided to try it.
Here is my process:
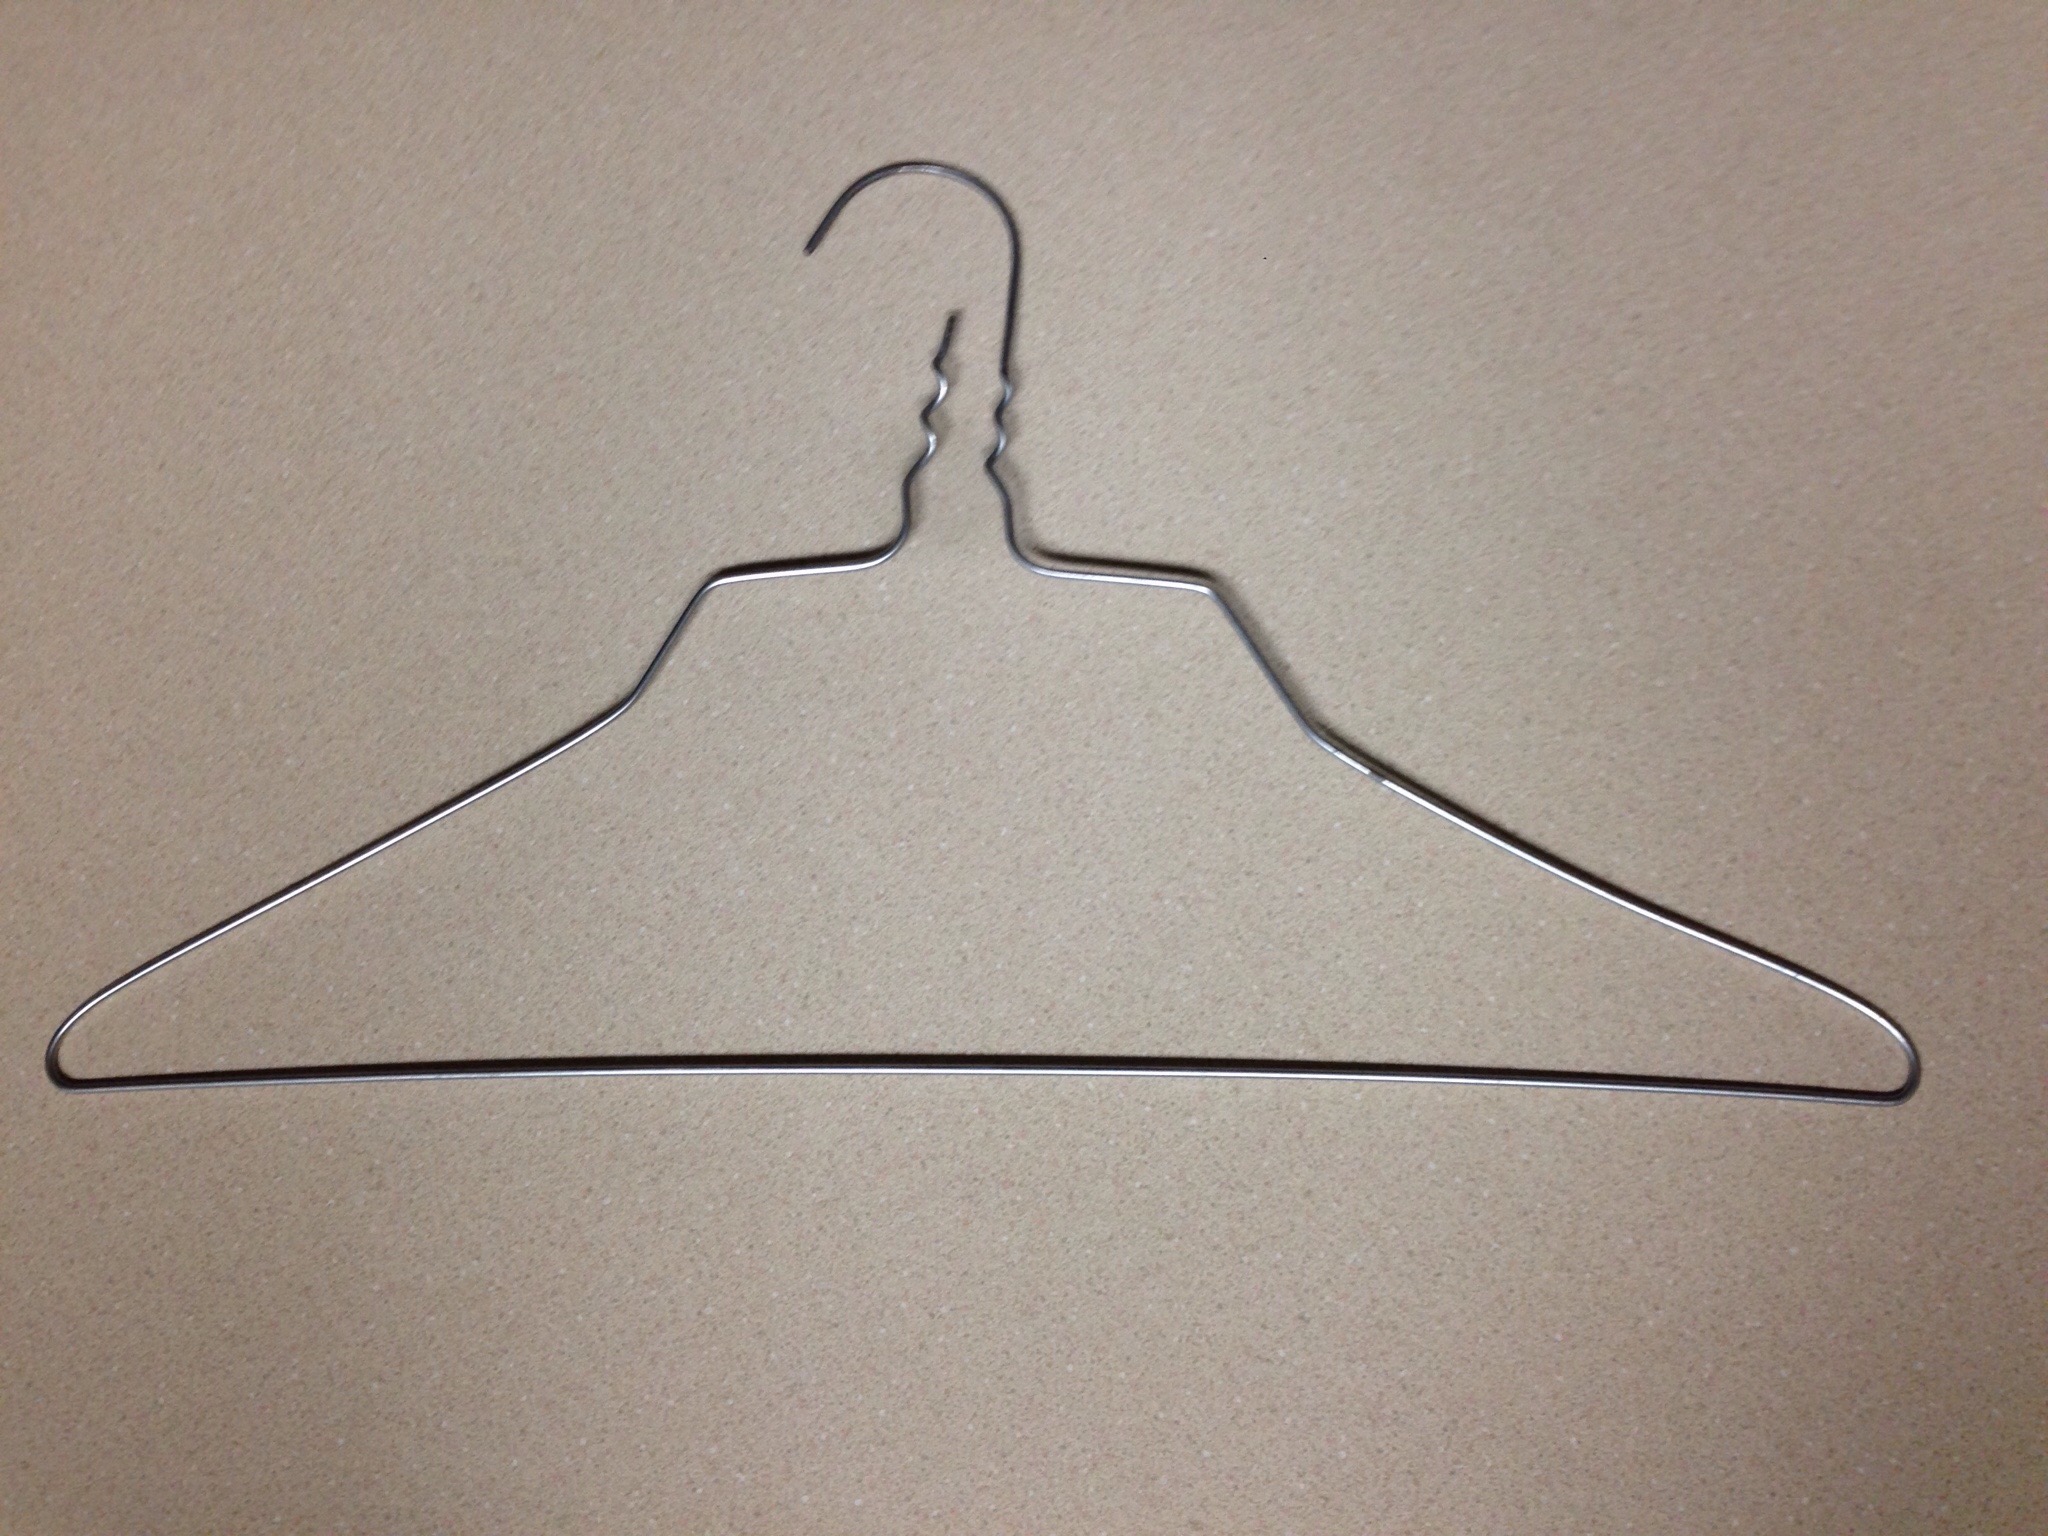
You will need a wire coat hanger, pliers to help unwind the hanger, about 30 feet of burlap ribbon (I used two rolls like this from Hobby Lobby) and twine for a loop for hanging.

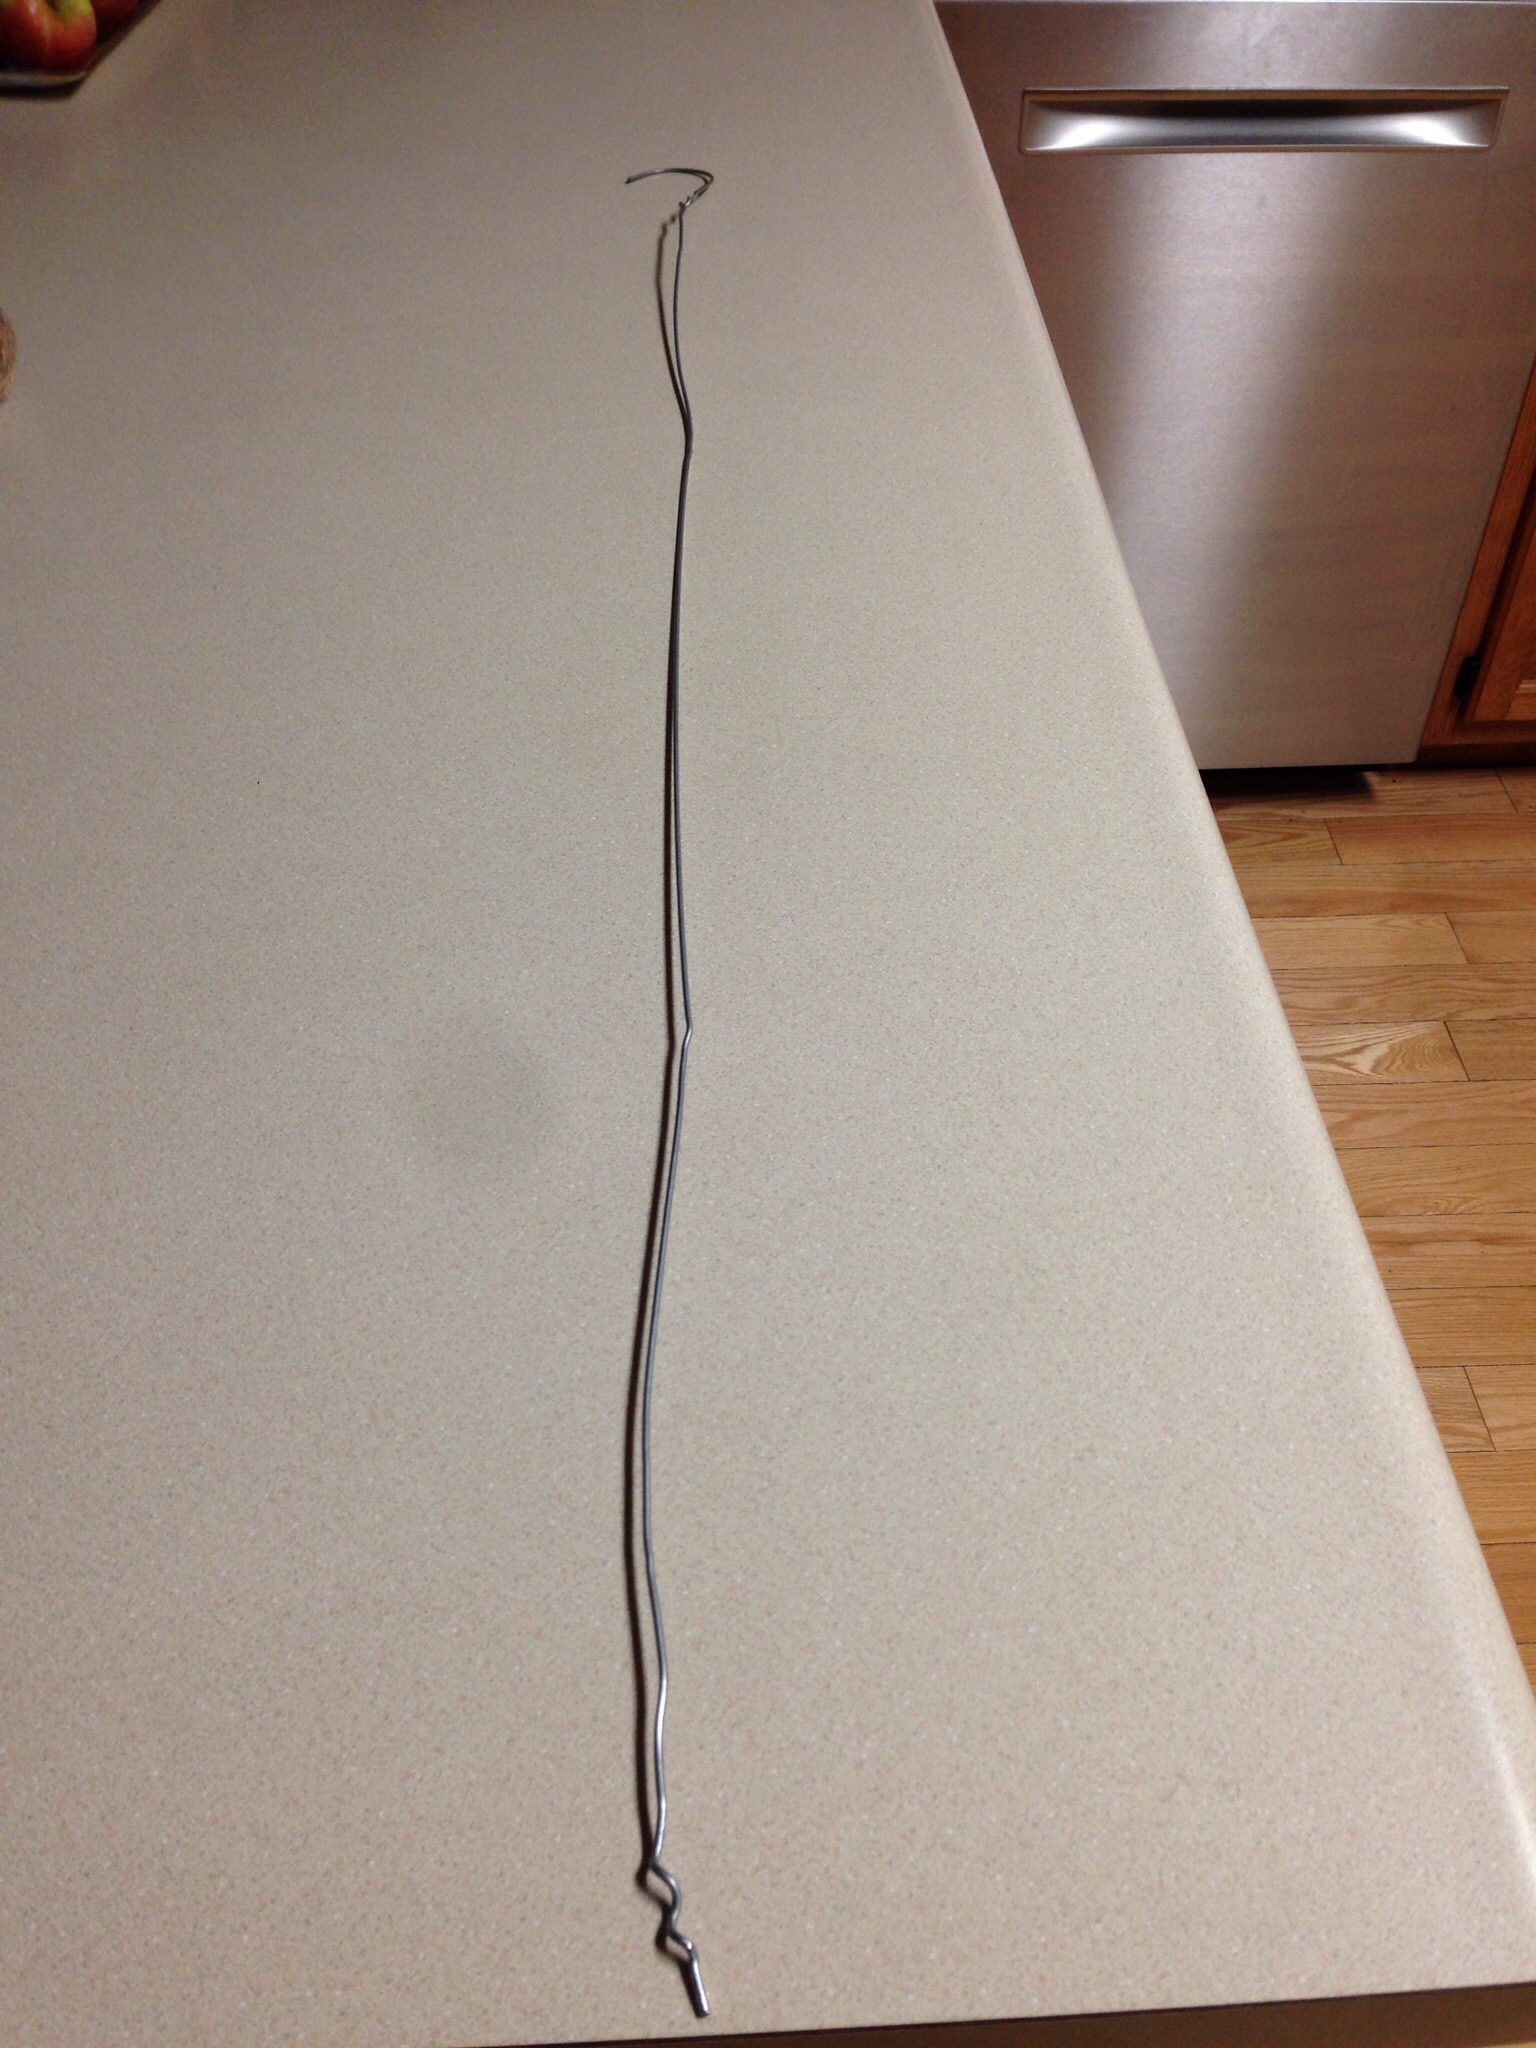
This is what the hanger looks like after you unwind the neck.
Straighten it out, I used the pliers again to help with the sharper corners.
Now start weaving the coat hanger in and out of the burlap.

Once you have gone over and under you’ll want to twist the burlap before your next over/under stich.

Keep stitching over/under and twisting until your get to the end of your burlap. Try to make your stitches relatively the same size (just eyeball it) so your loops are uniform when finished. If you are using more than one roll just start the new roll like the last one, you won’t be able to see it amongst all the loops.

After all the burlap is on the hanger form it into a circle and re-twist the hanger together. Fluff and arrange the loops until your satisfied with the look. Then you can either make a hanger out of this or use twine and tie a loop around the form.

Here is the finished wreath, now I need to embellish it! Guess I need to make another trip to the craft store … Darn😉

